
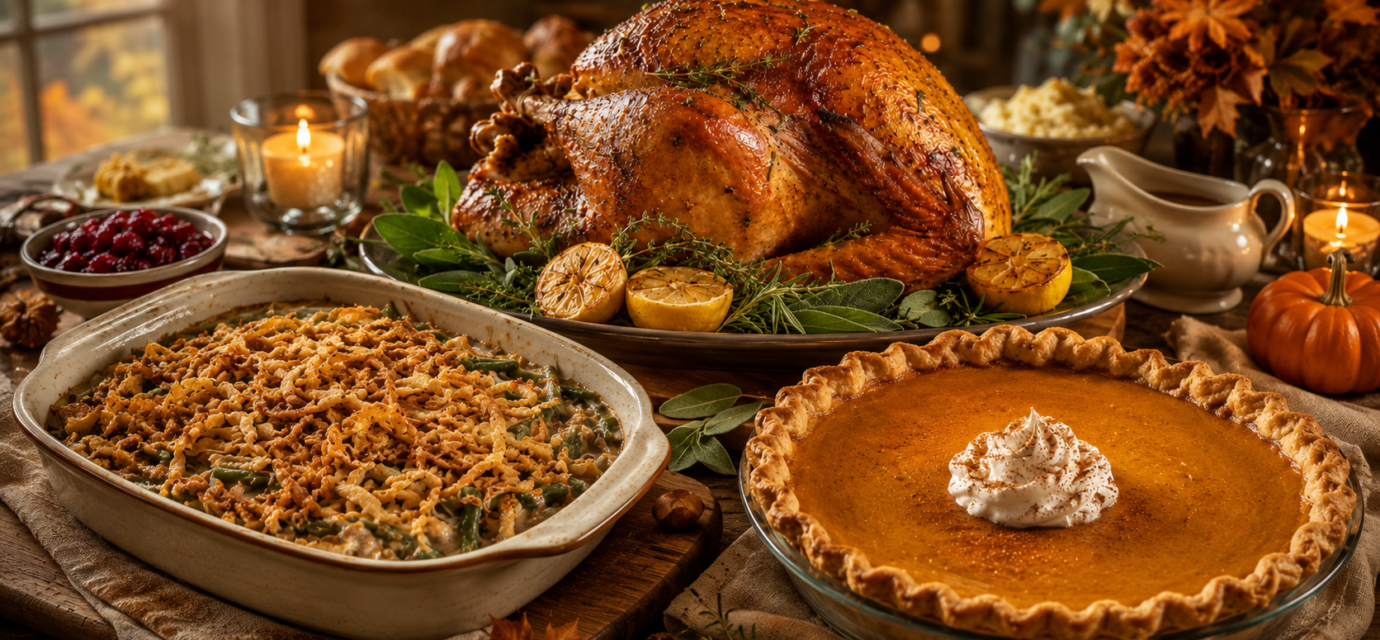
Thanksgiving Top 3 Recipes: Herb Butter Roast Turkey, Creamy Green Bean Casserole, and Silky Pumpkin Pie for a Holiday Table That Feels Like
A Thanksgiving Table Built on Comfort, Memory, and Good Food.
Thanksgiving is one of those meals that asks more from food than simply being delicious. It asks the turkey to feel like a centerpiece. It asks the side dishes to carry nostalgia. It asks dessert to slow the room down just enough for people to linger a little longer.
A beautiful Thanksgiving dinner does not have to be complicated, expensive, or overly polished. The best holiday tables usually come from thoughtful timing, familiar flavors, and recipes that respect both tradition and the people gathered around them.
This Fly By Eats guide focuses on three Thanksgiving classics that continue to earn their place on the table: herb butter roast turkey, creamy green bean casserole, and classic pumpkin pie. Each recipe is written with practical tips, food safety reminders, flavor-building steps, and a little cultural context so the meal feels richer than a checklist.
Thanksgiving as a national holiday was shaped in part by writer and editor Sarah Josepha Hale, who promoted the celebration through editorials, recipes, and a September 1863 letter to President Abraham Lincoln. The Library of Congress notes that her advocacy helped lead to Lincoln’s proclamation of a national day of thanksgiving and praise.
1. Herb Butter Roast Turkey
Golden roast turkey with crisp skin, juicy meat, and the kind of holiday aroma that makes everyone drift toward the kitchen.
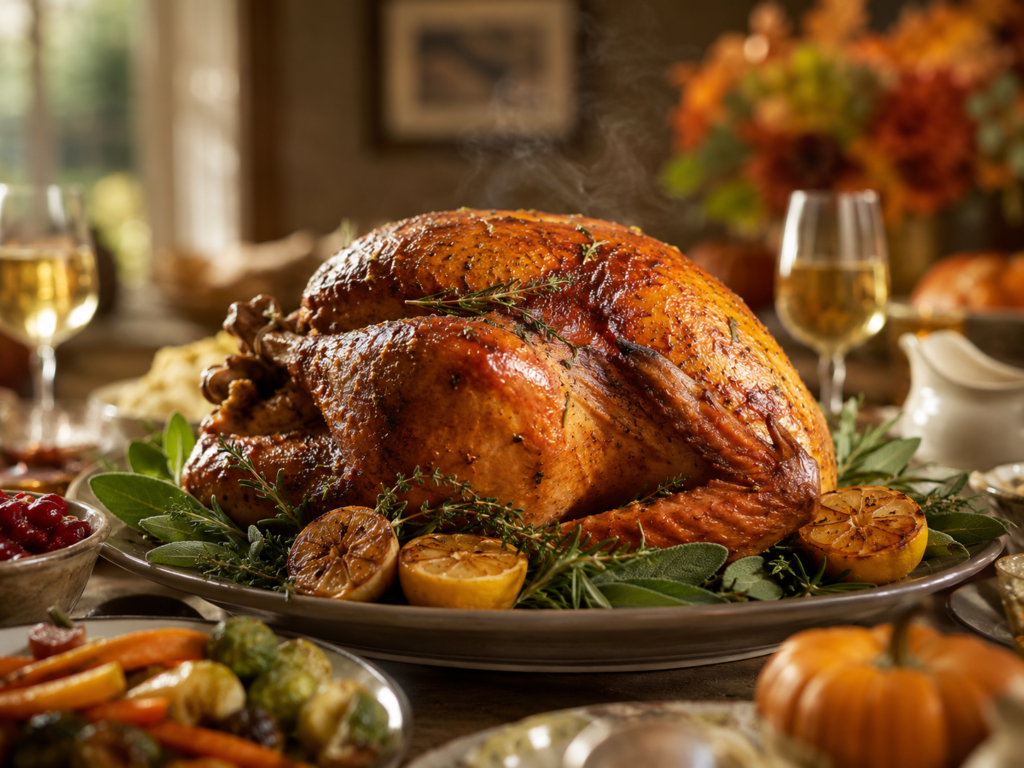
Golden herb butter Thanksgiving roast turkey served on a warm holiday table with fresh herbs and roasted garlic.
Why This Roast Turkey Works
A good Thanksgiving turkey is not about rushing. It is about moisture, seasoning, temperature, and rest. Herb butter tucked under the skin helps season the breast meat directly, while fresh herbs, onion, lemon, and garlic build aroma from the inside out.
The most important tool is not a fancy roasting pan. It is a food thermometer. The USDA states that turkey must reach a safe minimum internal temperature of 165°F in the thickest part of the breast, innermost part of the thigh, and innermost part of the wing.
Recipe Details
Prep Time: 35 minutes
Cook Time: 3 hours to 3 hours 45 minutes
Rest Time: 30 minutes
Total Time: About 4 hours 30 minutes
Servings: 12 to 14
Ingredients
For the Turkey
- 1 whole turkey, 12 to 14 pounds, fully thawed if frozen
- 1/2 cup unsalted butter, softened
- 2 tablespoons fresh parsley, chopped
- 1 tablespoon fresh sage, chopped
- 1 tablespoon fresh rosemary, chopped
- 1 tablespoon fresh thyme leaves
- 4 garlic cloves, finely minced
- 1 tablespoon kosher salt, plus more as needed
- 1 teaspoon black pepper
- 1 lemon, halved
- 1 yellow onion, quartered
- 1 head garlic, halved crosswise
- 2 cups low-sodium chicken or turkey broth
- Optional: celery and carrots for the roasting pan
Food Safety Note: Before You Start
Thaw turkey safely in the refrigerator or in cold water. USDA guidance recommends allowing about 24 hours for every 4 to 5 pounds when thawing in a refrigerator at 40°F or below. For cold-water thawing, allow about 30 minutes per pound and change the water every 30 minutes.
Avoid washing raw turkey. The CDC warns that washing raw turkey can spread germs to sinks, counters, utensils, and nearby food.
USDA officials provide food safety tips ahead of Thanksgiving
Directions
1. Prepare the turkey.
Remove the turkey from the refrigerator about 45 minutes before roasting. Remove the giblets and neck from the cavity if included. Pat the turkey very dry with paper towels, including the cavity. Dry skin browns better and gives the butter a cleaner surface to cling to.
2. Preheat the oven.
Preheat the oven to 325°F. Place a roasting rack inside a large roasting pan. If you do not have a rack, use thick slices of onion, celery, and carrots to lift the turkey slightly off the bottom of the pan.
3. Make the herb butter.
In a bowl, combine softened butter, parsley, sage, rosemary, thyme, garlic, salt, and black pepper. Mix until smooth and fragrant.
4. Season under the skin.
Gently loosen the skin over the turkey breast with your fingers, being careful not to tear it. Spread some of the herb butter under the skin, directly over the breast meat. Rub the remaining butter over the outside of the turkey.
5. Fill the cavity loosely.
Place the lemon, onion, and halved garlic inside the cavity. Do not pack the cavity tightly because that can slow cooking. Tie the legs loosely with kitchen twine if desired, and tuck the wing tips under the body.
6. Roast the turkey.
Pour broth into the bottom of the roasting pan. Roast the turkey at 325°F, basting occasionally if desired. A 12- to 14-pound unstuffed turkey usually takes about 3 to 3 hours and 45 minutes, but timing is only a guide.
7. Check the temperature.
Use a thermometer to check the thickest part of the breast, innermost thigh, and innermost wing. The turkey is safe when each area reaches 165°F. If the skin browns too quickly, tent the breast loosely with foil.
8. Rest before carving.
Transfer the turkey to a cutting board and let it rest for 30 minutes before carving. This helps the juices settle and gives you cleaner slices.
9. Carve and serve.
Slice the breast meat against the grain and separate the legs, thighs, and wings. Spoon warm pan juices over the turkey before serving.
Helpful Tips for Better Turkey
Keep raw turkey away from ready-to-eat foods.
Dry the skin well before seasoning.
Use fresh herbs when possible for a brighter holiday aroma.
Do not rely only on a pop-up timer.
Resting is not optional if you want juicy slices.
2. Creamy Green Bean Casserole with Crispy Onions
Tender green beans in a savory mushroom cream sauce, finished with a golden crisp onion topping that brings the crunch everyone waits for.
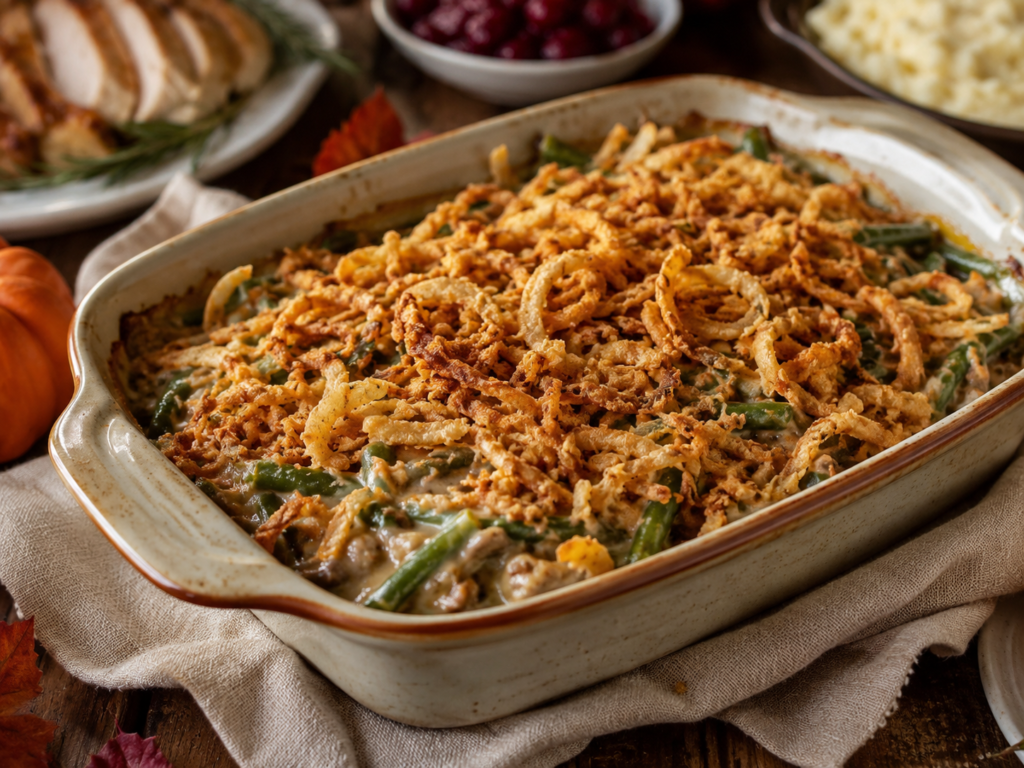
Creamy Thanksgiving green bean casserole topped with golden crispy onions in a ceramic baking dish.
A Classic Side with Mid-Century Roots
Green bean casserole has become one of the most recognizable Thanksgiving side dishes in the United States. Campbell’s credits the recipe to Dorcas Reilly, who created it in 1955 at the company’s Camden, New Jersey headquarters. The dish was originally called “Green Bean Bake,” and Campbell’s notes that it became a Thanksgiving favorite in the 1960s after the recipe appeared on Cream of Mushroom soup labels.
This version keeps the classic comfort but gives the dish a better texture by using fresh or frozen green beans, seasoning the sauce with care, and adding the crispy onions in two stages.
Recipe Details
Prep Time: 20 minutes
Cook Time: 35 minutes
Total Time: 55 minutes
Servings: 8 to 10
Ingredients
- 2 pounds fresh green beans, trimmed
- 2 cans cream of mushroom soup, 10.5 ounces each
- 3/4 cup milk
- 1 teaspoon soy sauce
- 1/2 teaspoon black pepper
- 1/2 teaspoon garlic powder
- 1/2 teaspoon onion powder
- 1 1/2 cups crispy fried onions, divided
- Optional: 8 ounces of mushrooms, sliced and sautéed
- Optional: 1/2 cup shredded sharp cheddar or Parmesan
Directions
1. Preheat the oven.
Preheat the oven to 350°F. Lightly grease a 9-by-13-inch baking dish or a 3-quart casserole dish.
2. Blanch the green beans.
Bring a large pot of salted water to a boil. Add the green beans and cook for 3 to 4 minutes, just until bright green and slightly tender. Transfer them to a bowl of ice water to stop the cooking. Drain well.
Campbell’s also recommends blanching fresh green beans until crisp-tender to preserve color and texture.
3. Mix the creamy base.
In a large bowl, stir together cream of mushroom soup, milk, soy sauce, black pepper, garlic powder, onion powder, and 3/4 cup crispy onions. Add sautéed mushrooms or cheese if using.
4. Fold in the beans.
Add the drained green beans and gently fold until evenly coated. The mixture should be creamy but not soupy.
5. Bake the casserole.
Spread the mixture into the prepared baking dish. Bake uncovered for 25 minutes, or until bubbling around the edges.
6. Add the crispy topping.
Sprinkle the remaining crispy onions over the top. Return the casserole to the oven for 5 to 10 minutes, until the onions are golden and crisp.
7. Rest before serving.
Let the casserole sit for 5 minutes before serving. This helps the sauce settle and makes it easier to scoop.
Flavor Variations
Fresh Mushroom Upgrade
Sauté sliced mushrooms in butter before adding them to the sauce for a deeper, savory flavor.
Cheesy Holiday Style
Stir in sharp cheddar or Parmesan for a richer casserole.
Lighter Green Bean Casserole
Use unsalted cream of mushroom soup, fresh green beans, and a lighter hand with the crispy onions.
Extra Crunch
Add toasted almonds to the onion topping for texture.
Helpful Tips
- Drain green beans well so the casserole does not become watery.
- Add the final onions near the end so they stay crisp.
- Taste before adding salt because canned soup and fried onions are already seasoned.
- Fresh green beans give the best texture, but thawed frozen beans work well.
3. Classic Pumpkin Pie with Warm Fall Spices
A smooth pumpkin custard pie with cinnamon, ginger, nutmeg, and cloves, baked until just set and served with soft whipped cream.
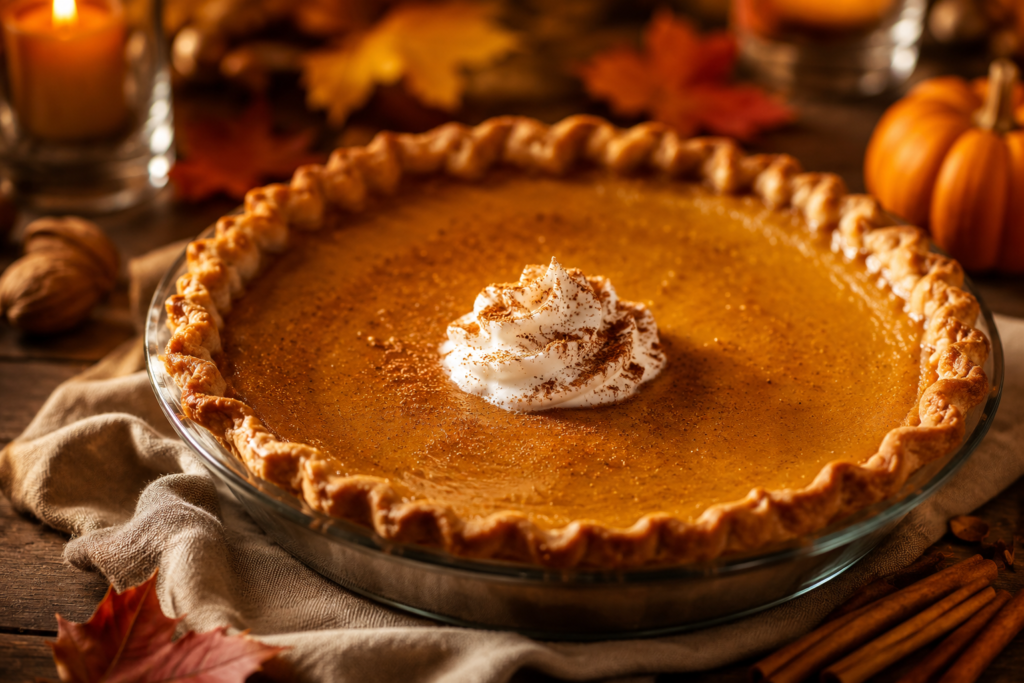
Classic Thanksgiving pumpkin pie with whipped cream and warm fall spices on a cozy holiday table.
Why Pumpkin Pie Still Feels Like Thanksgiving
Pumpkin pie is more than a dessert. It is the quiet final note of the meal. After the turkey, casseroles, potatoes, rolls, and conversation, pumpkin pie brings everything back to something simple: spice, creaminess, and a flaky crust.
The Library of Congress explains that pumpkin pie became increasingly tied to American Thanksgiving through cookbooks, newspapers, canned pumpkin, bakery pies, frozen pies, and the rise of pumpkin pie spice in the 20th century.
This version uses pumpkin purée, brown sugar, evaporated milk, eggs, and warm spices for a filling that slices cleanly but still tastes soft and custardy.
Recipe Details
Prep Time: 20 minutes
Cook Time: 50 to 60 minutes
Cooling Time: 2 to 3 hours
Total Time: About 3 hours 20 minutes
Servings: 8
Ingredients
- 1 unbaked 9-inch pie crust
- 1 can pumpkin purée, 15 ounces
- 3/4 cup packed brown sugar
- 2 large eggs
- 1 cup evaporated milk
- 1 teaspoon vanilla extract
- 1 1/2 teaspoons ground cinnamon
- 1/2 teaspoon ground ginger
- 1/4 teaspoon ground nutmeg
- 1/8 teaspoon ground cloves
- 1/2 teaspoon salt
- Optional: whipped cream for serving
Directions
1. Preheat the oven.
Preheat the oven to 425°F. Place the pie crust in a 9-inch pie plate and crimp the edges. Set the pie plate on a baking sheet for easier transfer.
2. Mix the pumpkin filling.
In a large bowl, whisk together pumpkin purée, brown sugar, eggs, evaporated milk, vanilla, cinnamon, ginger, nutmeg, cloves, and salt. Whisk until smooth and evenly blended.
3. Fill the crust.
Pour the filling into the unbaked pie crust. Move slowly because the pumpkin custard is thin before baking.
4. Start hot, then lower the heat.
Bake at 425°F for 15 minutes. Without removing the pie from the oven, reduce the temperature to 350°F and bake for another 35 to 45 minutes.
5. Check for doneness.
The pie is ready when the edges are set, and the center still has a gentle wobble. It should not look liquid. Avoid overbaking because custard pies can crack when baked too long.
Is My Pumpkin Pie Done Baking or Not?
6. Cool completely.
Place the pie on a wire rack and cool for at least 2 to 3 hours. Pumpkin pie continues to set as it cools, so slicing too early can make the filling loose.
7. Serve.
Serve plain, chilled, or with whipped cream.
Helpful Tips for Pumpkin Pie
- Use pumpkin purée, not pumpkin pie filling.
- Do not overmix once the eggs are added.
- Bake on a sheet pan to catch spills.
- A slight wobble in the center is good.
- Cool fully before slicing.
What to Serve with These Thanksgiving Classics
These three recipes can anchor the whole meal, but the table feels even more complete with a few thoughtful additions:
- Buttery mashed potatoes
- Turkey gravy
- Cranberry sauce
- Cornbread dressing or classic stuffing
- Sweet potato casserole
- Dinner rolls
- Roasted Brussels sprouts
- Apple cider or sparkling cider
- Hot tea, coffee, or spiced non-alcoholic punch
For a family-friendly and publisher-review-friendly article experience, keep non-alcoholic pairing ideas visible and welcoming.
Make-Ahead Thanksgiving Timeline
3 to 4 Days Before Thanksgiving
Thaw the turkey in the refrigerator if frozen. The USDA recommends about 24 hours for every 4 to 5 pounds of turkey when thawing at 40°F or below.
1 to 2 Days Before Thanksgiving
Make the pumpkin pie and refrigerate it after cooling. Trim green beans, prepare casserole ingredients, and make the herb butter.
Thanksgiving Morning
Assemble the turkey and begin roasting early enough to allow cooking and resting time. Set out serving dishes and check your food thermometer.
30 Minutes Before Dinner
Bake the green bean casserole, warm rolls, make gravy, and carve the turkey after it rests.
After Dinner
Refrigerate leftovers within 2 hours. FoodSafety.gov recommends dividing leftovers into smaller portions and storing them in shallow covered containers so they cool quickly. Thanksgiving leftovers are generally safe in the refrigerator for 3 to 4 days.
Frequently Asked Questions
What are the top 3 Thanksgiving recipes?
The most classic Thanksgiving trio is roast turkey, green bean casserole, and pumpkin pie. Together, they give the table a centerpiece, a creamy savory side, and a traditional fall dessert.
How do I keep turkey from drying out?
Use herb butter under the skin, roast at a steady temperature, check doneness with a thermometer, and let the turkey rest before carving. Overcooking is the most common reason the turkey turns dry.
Can I make green bean casserole ahead of time?
Yes. Assemble the casserole without the final onion topping, cover, and refrigerate. Add the crispy onions just before the final bake so they stay crunchy.
Can pumpkin pie be made the day before Thanksgiving?
Yes. Pumpkin pie is a great make-ahead dessert. Let it cool fully, then refrigerate it until serving.
How long can Thanksgiving leftovers stay in the refrigerator?
FoodSafety.gov recommends eating refrigerated Thanksgiving leftovers within 3 to 4 days or freezing them for longer storage.
Final Thoughts
Thanksgiving food does not have to be flawless to be meaningful. The turkey may take longer than expected. Someone may ask where the extra gravy is. The casserole may disappear faster than planned. The pumpkin pie may be cut before it is fully chilled because people are impatient and happy.
That is the beauty of the holiday table.
These top 3 Thanksgiving recipes are classics because they do more than feed people. They create rhythm. They mark the season. They remind us that food can carry memory, comfort, gratitude, and connection all at once.
Make the turkey golden. Let the casserole bubble. Give the pie time to cool. Then gather around the table and let the meal do what Thanksgiving meals have always done best: bring people back to one another.
References
- Campbell’s. (n.d.). Green bean casserole. Campbell’s Recipes. https://www.campbells.com/recipes/green-bean-casserole/
- Campbell’s Company. (2025, November 21). 10 things you didn’t know about green bean casserole. https://www.thecampbellscompany.com/newsroom/campbells-history/10-things-you-didnt-know-about-green-bean-casserole/
- Centers for Disease Control and Prevention. (2024, April 29). Preparing your holiday turkey safely. https://www.cdc.gov/food-safety/foods/holiday-turkey.html
- FoodSafety.gov. (n.d.). Thanksgiving leftovers for safe keeping, weekend grazing. https://www.foodsafety.gov/blog/thanksgiving-leftovers-safe-keeping-weekend-grazing
- FoodSafety.gov. (n.d.). Leftovers: The gift that keeps on giving. https://www.foodsafety.gov/blog/leftovers-gift-keeps-giving
- Library of Congress. (n.d.). Thanksgiving. https://www.loc.gov/classroom-materials/thanksgiving/
- Library of Congress. (2017, November 20). A brief history of pumpkin pie in America. https://blogs.loc.gov/inside_adams/2017/11/a-brief-history-of-pumpkin-pie-in-america/
- Library of Congress. (2024, November 25). The woman who helped put Thanksgiving on the calendar. https://blogs.loc.gov/loc/2024/11/the-woman-who-helped-put-thanksgiving-on-the-calendar/
- National Park Service. (n.d.). Lincoln and Thanksgiving. https://www.nps.gov/liho/learn/historyculture/lincoln-and-thanksgiving.htm
- U.S. Department of Agriculture. (2024, November 12). Keep food safety in mind this Thanksgiving. https://www.usda.gov/about-usda/news/press-releases/2024/11/12/keep-food-safety-mind-thanksgiving
- U.S. Department of Agriculture, Food Safety and Inspection Service. (n.d.). Turkey basics: Safe thawing. https://www.fsis.usda.gov/food-safety/safe-food-handling-and-preparation/poultry/turkey-basics-safe-thawing
- U.S. Department of Agriculture, Food Safety and Inspection Service. (n.d.). Turkey basics: Safe cooking. https://www.fsis.usda.gov/food-safety/safe-food-handling-and-preparation/poultry/turkey-basics-safe-cooking
- U.S. Department of Agriculture, Food Safety and Inspection Service. (n.d.). Your safe Thanksgiving guide. https://www.fsis.usda.gov/food-safety/safe-food-handling-and-preparation/poultry/your-safe-thanksgiving-guide